How to pack a backpacking pack for multi-day trips

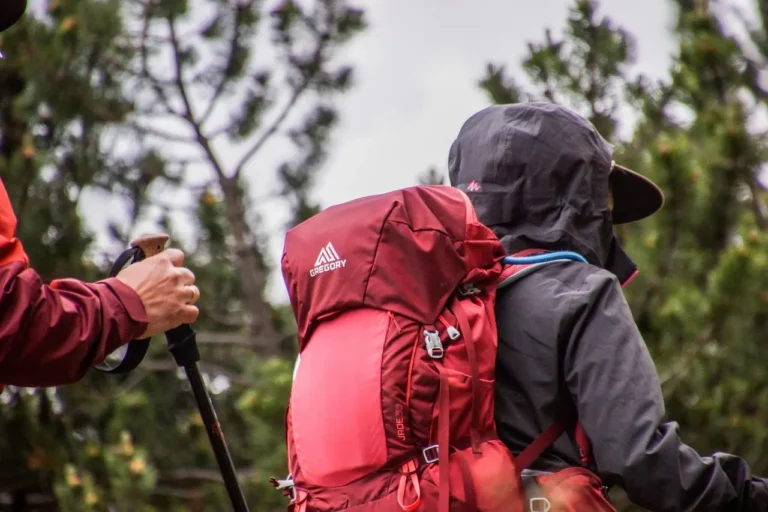
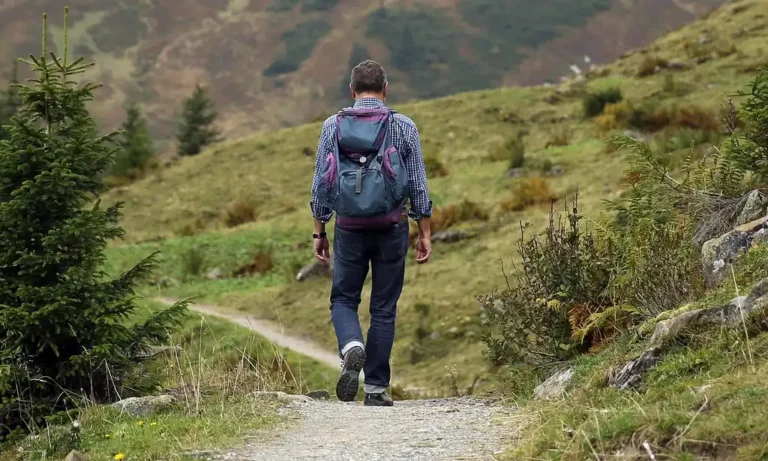
For a roughly 2- to 5-night backpacking trip, place dense items close to your spine and between your shoulder blades, keep water, rain gear, and snacks in the lid or side pockets, and stash sleep gear at the bottom. Pack it poorly and the load drifts backward, access slows down, and wet gear can soak the rest of your kit. This guide gives you a repeatable packing order, load-balancing rules, and a rain-ready packing sequence for multi-day trips.
What you need before you pack
Lay out every item first, then divide it by function. That makes it easier to see what belongs in camp storage, what must stay reachable, and what should never sit loose in the pack.
- Backpacking pack
- Pack liner or trash bag liner
- Sleeping bag in a compression sack
- Sleeping pad
- Pillow, if you use one
- Tent or shelter pieces
- Stove and fuel
- Meals and snacks
- Bear canister, Ursack, or food stuff sack as required
- Rain shell or rain gear
- Map, phone, headlamp, water treatment, and first-aid items
How should you sort gear before packing?
Start with all gear on the ground, then group it by category. Keep camp items, cooking items, food, clothing, and trail-access items in separate piles so you can pack by zone instead of by convenience. That cuts dead space and prevents last-minute shoving.
Say your tent is damp from an early start. Keep the fly, poles, and stakes together, but separate them from dry sleep gear and food so moisture does not spread through the pack.
- Sort everything by category. Put sleep gear, shelter, food, cooking gear, clothes, and day-use items in separate piles. That makes the final load order obvious.
- Pack the liner first. Put a trash bag liner or pack liner inside the pack before any gear goes in. If rain is possible, this is the easiest way to keep the core of the pack dry.
- Load the bottom section. Place the sleeping bag at the very bottom in a compression sack, then add the sleeping pad low in the pack. Pillow, if used, can sit with sleep gear because it is light and compressible.
- Set the heavy middle. Put the tent, stove, fuel, and food in the middle section, close to the back. Keep the heaviest pieces near the spine and centered between the shoulder blades.
- Reserve the top for reach. Put rain gear, lunch, layers, map, phone, and headlamp where you can reach them fast. Side pockets and hip-belt pockets work well for items you need during the day.
- Check balance and tighten. Add or remove gear in about 250 g to 500 g increments when the pack feels lopsided, then recheck the carry. A top-heavy or one-sided load usually shows up immediately on the trail.
Backpacking pack order table
This table gives a repeatable packing order by item type and pack zone. Use it as a self-check before you cinch the lid.
| Item category | Exact pack zone | Instant access? | Main reason | Common mistake |
|---|---|---|---|---|
| Sleeping bag | Bottom section | No | It is lightweight, compressible, and not needed until camp. | Stuffing it near the top where it steals access and space. |
| Sleeping pad | Bottom section | No | It packs low and helps build a soft base. | Leaving it loose so it creates dead space around other gear. |
| Pillow, if used | Bottom or top, with sleep gear | No | It is light and compressible. | Putting it in the middle where it blocks denser items. |
| Stove and fuel | Middle section | No | They are bulky, less compressible, and should ride close to the back. | Placing them in side pockets where they swing and shift. |
| Tent or shelter body | Top of the middle section | Sometimes | It stays central but is easier to reach if rain forces a fast stop. | Burying wet shelter pieces below dry sleep gear. |
| Bear canister | Middle section, centered | No | It is rigid and should sit centered to avoid a crooked load. | Stuffing soft gear around only one side of the canister. |
| Food bags, meals, snacks | Middle section near the back | Lunch and snacks: yes; dinner: no | Food is one of the heaviest pack items aside from water. | Scattering food into corners where it creates voids and imbalance. |
| Rain gear | Top or outer pocket | Yes | It needs fast access when weather changes. | Wrapping it under several layers of camp gear. |
| Map, phone, headlamp, water treatment | Top, lid, or hip-belt pocket | Yes | These items support navigation and safety. | Putting them under the liner so you must unpack to reach them. |
How do you pack the bottom section?
The bottom section is for items you will not need until camp. Keep it soft, light, and compressible so the pack sits low and the rest of the load can settle above it without creating a hard lump.
Sleeping gear belongs here first because it compresses well and is not needed while hiking. That includes the sleeping bag, sleeping pad, and a pillow if you carry one.
- Compress the sleep kit. Put the sleeping bag in a compression sack and place it at the very bottom. Add the sleeping pad low beside or above it, depending on pack shape.
- Fill soft gaps only. Use clothing or a small camp item to remove empty space around the sleep system. Do not pack hard objects here, because they push the load upward and back.
- Keep wet gear out. If the tent fly or stakes are damp, do not bury them under the sleeping bag. Put them in the top of the middle section or in an outer pocket when the pack design allows it.
How do you pack the middle section?
The middle section carries heavyweight items and should sit close to your back. This is where balance happens. Put dense gear here so the pack stays centered instead of pulling backward or twisting to one side.
Think of the middle section as the main load zone. It holds the tent, stove and fuel, food, and any rigid food storage such as a bear canister.
- Center the heaviest item. If you need a bear canister, place it centered in the pack and close to your spine. If no canister is required, put food bags and dense cooking items in the same position.
- Stack bulky gear tightly. Put the stove and fuel near the middle because they are bulky and less compressible. Use surrounding soft items to stop them from shifting.
- Stage shelter near the top. Keep the tent toward the top of the middle section for easier access in rain. That makes it faster to reach if weather turns while you are still hiking.
- Close side gaps. Fill open space with clothing or smaller food bags. Dead space lets heavy items roll, which makes the pack feel unstable on uneven ground.
Suppose a 5-night setup includes a full bear canister, stove, fuel, and a tent. Center the canister first, then wrap the tent and stove around it with soft items. That keeps the load from tilting outward when the pack tightens.
How do you pack the top and pockets?
The top section is for essentials that need to be quickly reachable. Use it for items you may want during breaks, in changing weather, or at the end of the day. Pockets are for things you need without opening the main bag.
Keep lunch, snacks, rain gear, layers, map, phone, headlamp, and water treatment easy to reach. Those are the items that suffer most when they are buried under camp gear.
- Load trail essentials last. Put lunch, snacks, water treatment, map, phone, and headlamp at the top or in pockets. If you need them during a short stop, you should not have to unpack the main compartment.
- Add weather layers on top. Place rain gear and a warm layer near the opening or in the lid pocket. That keeps them reachable before the weather changes, not after.
- Use pockets for safety items. Keep small first-aid supplies and other frequent-use items where your hands can reach them fast. Hip-belt pockets are best when you need access without stopping.
How does trip length change the load?
Trip length changes volume and food weight, not the basic packing order. A 3-day trip usually needs less food and fewer fuel burns than a longer multi-day hike, so the load often feels more compact and easier to center.
For a 3-day trip, you can keep the same bottom-middle-top logic but use fewer food bags and less fuel. For a longer trip, the extra food mass becomes a larger share of the load, so centering it matters more.
- Scale food by nights. Pack only the meals and snacks you need for the trip length, plus a small margin. On a 3-day trip, that usually means less bulk in the middle section than on a 5-night trip.
- Recheck the center of mass. After adding extra food or fuel, hold the pack by the shoulder straps and check whether it tips backward. If it does, move dense items closer to the spine.
- Trim extras early. Leave out duplicate clothing, oversized toiletries, and backup items you will not use on trail. A lighter pack is easier to balance and more comfortable over a long climb.
Common mistakes
The most common errors are simple: too much gear, empty space, and wrong placement for dense items. Those mistakes create a pack that feels fine in the driveway and awkward on the trail.
- Overpacking. If you do not need it by day three, question whether it belongs in the pack at all.
- Dead space. Loose gaps let gear shift and settle unevenly. Fill spaces with soft items rather than stuffing random pieces wherever they fit.
- Top-heavy loads. Heavy gear near the lid pulls the pack backward and makes climbing harder.
- Wet shelter pieces near dry sleep gear. Keep damp tent parts separated so your sleeping bag stays dry.
- Food or water in the wrong spot. Dense items belong close to the spine, not in outer pockets where they swing.
A common first-timer mistake is packing a rain shell under camp gear because it “belongs with clothes.” That works until the sky turns. Keep it where you can grab it fast, even if that means moving it to the lid or side pocket.
Frequently asked questions
How do I pack a backpack for a 3 day trip?
Use the same three-part order, but reduce food, fuel, and spare clothing to what a 3-day itinerary needs. Put sleep gear at the bottom, dense food and cooking items in the middle, and rain gear, lunch, and navigation items at the top or in pockets.
How do I pack a multi day backpack?
Lay out every item first, then build from the bottom up: sleep system low, heavy gear centered close to the back, and trail essentials last. That order keeps the pack stable and makes it easier to reach the items you actually need during the day.
How do I pack a backpack for a multi day hike?
Pack for access and balance, not storage alone. Keep lunch, rain gear, map, phone, and headlamp easy to reach, and move heavier gear like food, stove, fuel, and shelter into the middle section so the load stays close to your spine.
What goes on the bottom, middle, and top of a backpacking pack?
The bottom section holds lightweight, compressible camp items such as the sleeping bag and sleeping pad. The middle section holds heavyweight items close to the back, including food, stove, fuel, and often the tent. The top section holds essentials you need quickly.
How do I keep a backpacking pack balanced and comfortable?
Keep dense items centered and close to the back, then fill gaps with soft gear so nothing shifts. If the pack feels off, move weight in about 250 g to 500 g increments and recheck the carry. Balance usually improves when the heavy items stop sitting high or far from the spine.
How do I pack for rain without soaking my gear?
Put a trash bag liner or pack liner inside the pack before loading anything. Keep damp shelter pieces separate from dry sleep gear, and place rain gear where you can reach it fast. A waterproof pack cover can help outside the pack, but the liner protects the contents first.