Best RV leveling blocks for Class C motorhome: Key features

For most Class C motorhomes, use stackable interlocking leveling blocks sized for the axle load, and save wedge ramps for small corrections on firm, fairly level ground. Wrong blocks can let tires sink, shift under load, or leave the coach off-level enough to affect fridge performance and sleeping comfort. This guide covers the block styles, load checks, ground conditions, and lift height that matter most.
Why Class C leveling needs differ
Class C motorhomes usually sit on a cutaway van or truck chassis, so they carry more overhang and a longer wheelbase than a travel trailer of similar length. That changes how weight moves onto each tire. It also means front-to-back leveling matters more than many buyers expect, because a small pitch change at the axles can create a larger change at the living area.
Typical GVWR for Class C motorhomes often falls in roughly the mid-10,000 to 14,500 pound range, though the exact rating depends on the chassis and build. A single-rear-wheel coach usually has more straightforward block placement than a dual-rear-wheel setup. Duals spread load better, but they also narrow your options because the block must fit both tire contact and spacing.
Wheelbase and overhang effects
Longer wheelbase and rear overhang increase the chance that a small site dip will leave the coach noticeably off-level. If the rear axle drops into a hollow, the body can tilt more than the tire height change alone suggests. That is why a Class C often needs a block choice based on actual lift, not on the overall length printed in the brochure.
Single rear wheel versus dual rear wheel setup
A single-rear-wheel Class C can usually use a wider range of interlocking pads and ramps. Dual rear wheels need a wider platform or a block system that keeps both tires supported without forcing one tire onto an edge. The tire spacing and tread width matter as much as the axle rating.
Front-to-back leveling and appliance performance
Side-to-side leveling is usually the first priority, but front-to-back matters too. A refrigerator, especially an absorption unit, works best when the coach is close to level within the limits set by the manufacturer. Sleeping comfort and cabinet alignment also improve when the pitch is corrected before you settle in.
Class C leveling block selector
| Tire layout | Ground type | Required lift | Best block style | Minimum safe features | Common failure mode |
|---|---|---|---|---|---|
| Single rear wheel | Asphalt | Under 2 inches | Interlocking leveling blocks | Textured top, wide footprint, chock pairing | Small slip on smooth pavement |
| Single rear wheel | Gravel | 2 to 3 inches | Interlocking blocks with broad base or ramp-style blocks | Anti-slip surface, stable base, cold-weather crack resistance | Rock shift or partial sinking |
| Dual rear wheels | Asphalt | Under 2 inches | Wide-platform interlocking blocks | Dual-tire fit, load distribution, textured surface | Outside tire hangs over edge |
| Dual rear wheels | Gravel or soft dirt | 2 to 3 inches | Wide ramp-style blocks only if the base is stable | Long approach, anti-slip placement, chocks, firm base prep | Sinking at the front edge |
| Any Class C | Wet grass | More than 3 inches | Avoid if possible; use firmer site or alternative support plan | Minimum lift, ground prep, chocks, firm underlay | Slip plus sink combined |
Quick filters: dual rear wheels? Choose a wide platform that fits both tires. Soft ground? Pick a longer, broader base or move to a firmer spot. More than 3 inches of lift? Stop and re-evaluate rather than stacking higher without checking the site and the load.
Which block style fits your rig?
For most Class C owners, the best fit is a stackable interlocking block system for normal leveling and a ramp only when the correction is small and the surface is firm. If the coach needs a larger correction, or if the site is uneven enough that the tire would need to climb a steep face, a ramp can be safer than a tall stack.
Interlocking leveling blocks for modular lift
Interlocking blocks use a modular stackable design, often in small height increments. That makes them useful when you need to fine-tune one side of the coach. Look for a wide top surface, positive locking tabs, and a stated load rating that clearly covers your axle load rather than a vague “heavy duty” label.
The better versions have a textured anti-slip top and enough surface area to keep the tire centered. They are also easier to adapt when the site is slightly different from one stop to the next. The tradeoff is that stack height has to stay conservative, because taller stacks give you less margin for movement and deflection.
Ramp-style leveling blocks for drive-on leveling
Ramp-style blocks work best when you can drive up a gentle incline rather than build height in layers. Their advantage is geometry: the tire climbs a continuous slope, which can feel more stable than a tall stack. That also helps when you need a small correction and want less piece-by-piece setup.
For soft ground, ramps can still fail if the leading edge sinks. Length matters because a longer ramp lowers the approach angle and reduces the chance that the tire breaks the surface. Short, steep ramps are the least forgiving option on dirt or wet grass.
When dual rear wheels change the choice
Dual rear wheels make platform width a real issue. If the block does not support both tires with proper spacing, one tire may sit on an edge or a seam. That can concentrate load, reduce grip, and create uneven stress on the block and the tire sidewall.
For duals, check that the block is built for wide-contact use and that the tire spacing matches the pad width. Anti-slip placement matters more here than with single rear wheels, because any shift gets multiplied across two tires per side.
What features matter most?
A basic safe feature set commonly includes a level indicator, wheel chocks, a textured anti-slip surface, and material that resists cracking in cold weather. After that, focus on load rating, block height increments, and storage fit. A block that is strong but awkward to carry will often stay home, which defeats the point.
Weight capacity and stack height limits
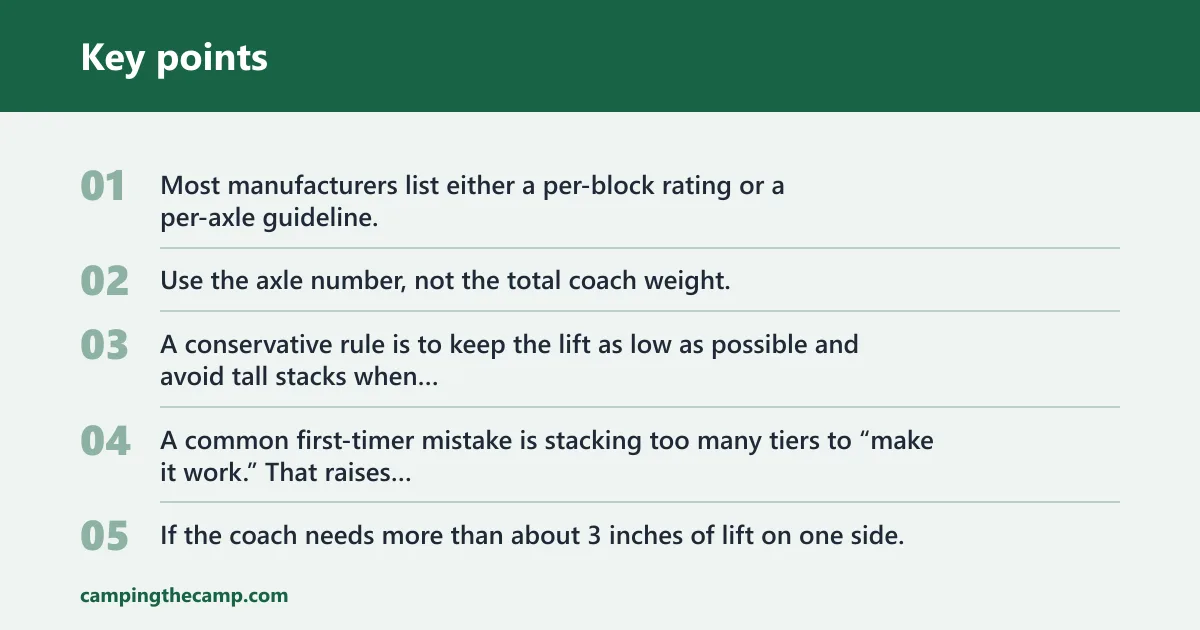
Most manufacturers list either a per-block rating or a per-axle guideline. Use the axle number, not the total coach weight, because leveling blocks carry the load at one corner or one axle set. A conservative rule is to keep the lift as low as possible and avoid tall stacks when you are correcting more than about 3 inches per side.
A common first-timer mistake is stacking too many tiers to “make it work.” That raises the risk of side-to-side creep, tipping at the edge, and block flex. If the coach needs more than about 3 inches of lift on one side, look for a different parking position or a ramp system with a longer base rather than adding another layer.
Textured grip, UV resistance, and cold-weather toughness
High-density plastic is common because it can be molded into interlocking shapes and cleaned easily. The better versions also resist UV damage and crack less readily in cold weather. A smooth surface is a problem; textured contact points help the tire bite into the block and reduce sliding on damp pavement.
Wet grass, frost, and cold nights raise the stakes. Plastic that feels fine in warm storage can become brittle if the formulation is poor. If the block has a glossy finish with little grip, treat it as a poor choice for anything except very firm, dry pavement.
Storage and cleanup after travel
Class C basement storage is usually limited, so nesting design matters. Stackable blocks that fit together tightly take up less space and are easier to rinse off. A carrying case can help, but the real advantage is cleanup: sand, gravel, and mud should come off fast so the blocks do not contaminate the storage bay.
How many blocks should you carry?
Carry enough to level one side at your usual campsite profile, plus a small reserve for uneven spots. For most Class C setups, that means enough blocks to build a short ramp or a low stack under the low side, plus spare pieces for small corrections. The exact count depends on tire layout and how much lift you actually need, not on coach length alone.
Side-to-side leveling versus front-to-back leveling
Side-to-side leveling usually needs the blocks under one wheel line on the low side. Front-to-back leveling is often handled by a separate adjustment, sometimes with the tongue or front axle position depending on the chassis. A bubble level or digital level helps you verify both directions before you stop stacking.
Why wheel chocks are non-negotiable
Wheel chocks are not optional with leveling blocks. They keep the coach from rolling while the tires settle onto the blocks and help hold position if the site has any slope at all. Use them on the tires that remain on the ground, and pair them with the block setup rather than treating them as a separate step.
Picture a low side on damp gravel with a 2-inch correction. The coach may look stable when you stop, but a tire can still shift a fraction of an inch as the weight settles. Chocks give you a second layer of control if the surface moves under load.
- Check the site with a bubble level or digital level before you unpack the blocks.
- Identify whether the low side is under a single rear wheel or dual rear wheels.
- Match the block style to the surface: interlocking for fine lift, ramps for small drive-on corrections.
- Keep the lift as low as possible and stop before you build a tall stack.
- Set wheel chocks after the coach is positioned on the blocks.
- Recheck level, then confirm the tires are centered and the blocks are not shifting.
Ground conditions and failure modes
Ground type changes the answer almost as much as tire layout. Asphalt gives the best chance of a stable setup, but gravel, soft dirt, and wet grass all reduce grip and increase the chance of slip or sink. The same block that works well on a hard pad can fail quickly on a loose or damp surface.
Asphalt and gravel
On asphalt, the main risk is sliding, especially if the block bottom is smooth or dusty. Gravel adds another layer because the stones can roll under the block. A textured base and a wide footprint help on both surfaces, but gravel still deserves caution if the site slopes or the surface is loose.
Soft dirt and wet grass
Soft dirt and wet grass are the hardest conditions for leveling blocks. The block can sink at the front edge, tilt as the tire climbs, or shift after parking. If the ground feels spongy underfoot, treat that as a warning sign and lower your lift demand or look for a firmer site.
Slip, sink, and crack risks
Three failure cases matter most: slip on smooth or wet ground, sink on soft ground, and cracking in cold weather. A tall stack increases all three risks. If the surface is poor and the lift needed is more than a modest correction, changing spots is usually safer than forcing the setup.
Suppose a Class C on dual rear wheels needs just over 3 inches of lift on one side. A short stack may seem enough, but the extra height can turn a stable setup into a wobbly one, especially on gravel. In that case, a better parking angle or a firmer pad is the safer move.
Frequently asked questions
What are the best RV leveling blocks for a Class C motorhome?
The best choice is usually a stackable interlocking block set with a textured top, a clear load rating, and enough width for your tire layout. For small corrections on firm pavement, a ramp can work well. For larger corrections or mixed ground, interlocking blocks are usually the safer default.
How many leveling blocks do I need for a Class C RV?
You need enough blocks to handle your usual low-side correction without pushing stack height too far. Many Class C setups only need a few inches of lift, but the exact count depends on the site and the tire position. Carry extra pieces only if they still fit your storage space cleanly.
Are interlocking leveling blocks better than ramps for a motorhome?
Interlocking blocks are better when you need flexible height changes and a compact storage footprint. Ramps are better for short, gentle drive-on corrections on firm ground. If the surface is soft or the lift is more than a small correction, neither style is ideal unless the base is stable.
What weight rating should RV leveling blocks have for a Class C?
Choose a rating that clearly covers the load on the axle or wheel position you are leveling, not just the coach’s total weight. For dual rear wheels, confirm that the block or ramp is designed for the wider contact patch. Vague “heavy duty” claims are not enough on their own.
Can I use Lego-style leveling blocks under dual tires?
You can only use them if the platform width, spacing, and load rating are clearly suitable for dual rear wheels. Many narrow Lego-style blocks are better for single tires or smaller rigs. With duals, the edges and seams become more important, so a wider platform is usually the safer pick.
Do RV leveling blocks work on gravel, dirt, or asphalt?
They work best on asphalt and other firm surfaces. Gravel needs more caution because the stones can shift under load. Soft dirt and wet grass are the least forgiving conditions, because the block can sink or slide. If the surface feels unstable, reduce the lift or choose another spot.