
How to Install an RV Water Filter System Step by Step

Install an RV water filter system by placing the main filter on the incoming water line for either city-water hookups or whole-coach tank-fill treatment. Put it in the wrong place and the tank, pump, and fixtures can still see sediment, chlorine, or odors, which can mean poor water quality and avoidable repairs. This guide shows the part order, where each component goes, and when a simple inline filter is not enough.
What you need before you start
Get the source-water choice right before you connect anything. City hookups mainly need taste-and-odor control, while unknown spigots, wells, and surface water need more than a compact hose filter. Check the thread size on the hose end, the RV inlet, and any adapters before you buy fittings.
Filter type and source water checklist
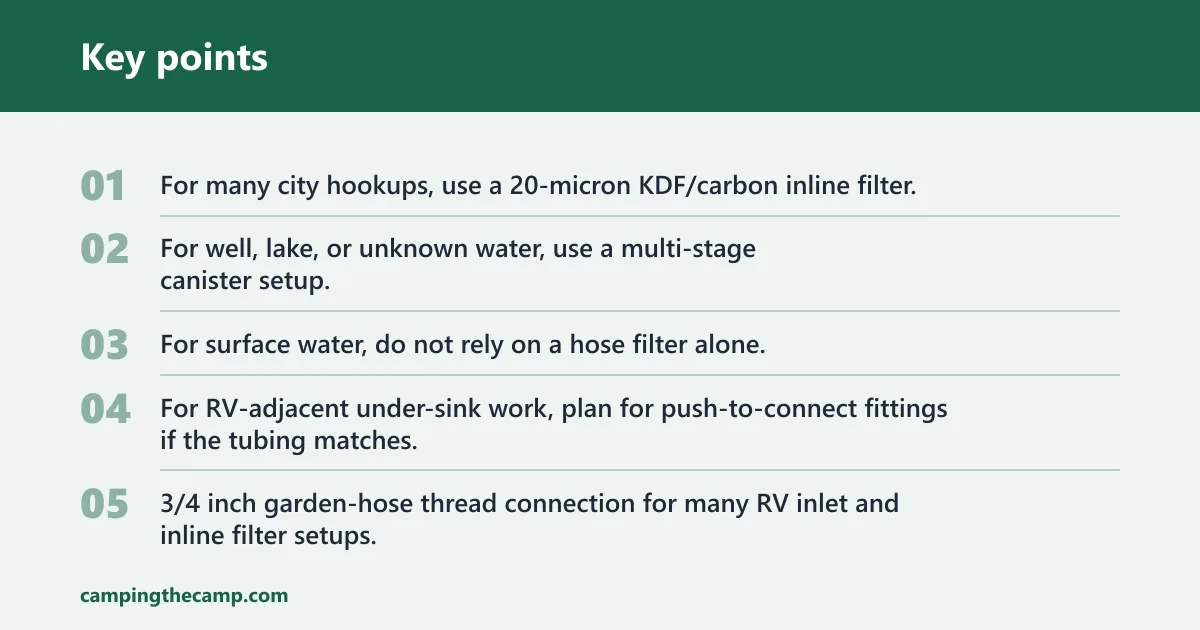
- For many city hookups, use a 20-micron KDF/carbon inline filter, but follow the manufacturer flow specs and local water conditions.
- For well, lake, or unknown water, use a multi-stage canister setup.
- For surface water, do not rely on a hose filter alone.
- For RV-adjacent under-sink work, plan for push-to-connect fittings if the tubing matches.
Thread sizes, adapters, and washers
- 3/4 inch garden-hose thread connection for many RV inlet and inline filter setups.
- 3/8 inch and 1/2 inch adapters for push-to-connect under-sink runs.
- Fresh hose washers or gaskets for each hose-thread joint.
- Male-to-male or female-to-female adapters only if your inlet layout requires them.
Basic tools and leak-test supplies
- Adjustable wrench.
- Bucket or catch pan.
- Clean towel or paper towels.
- Thread sealant only where the fitting maker allows it; many hose-thread leaks are fixed by a new washer, not tape.
- Pressure gauge if your regulator does not have one built in.
When to stop and check the manual
If the filter housing, regulator, or adapter kit has a model-specific instruction sheet, follow that sheet first. Follow the vehicle and product manual before you start.
How should you choose the install order?
Choose the order from the water source, not from the filter box. On campground city water, the regulator goes upstream of the filter so the hose, filter, and RV inlet all see limited pressure. On unknown or dirtier water, add sediment protection earlier in the line, and do not treat a hose filter as a safe answer for surface water.
City hookup order
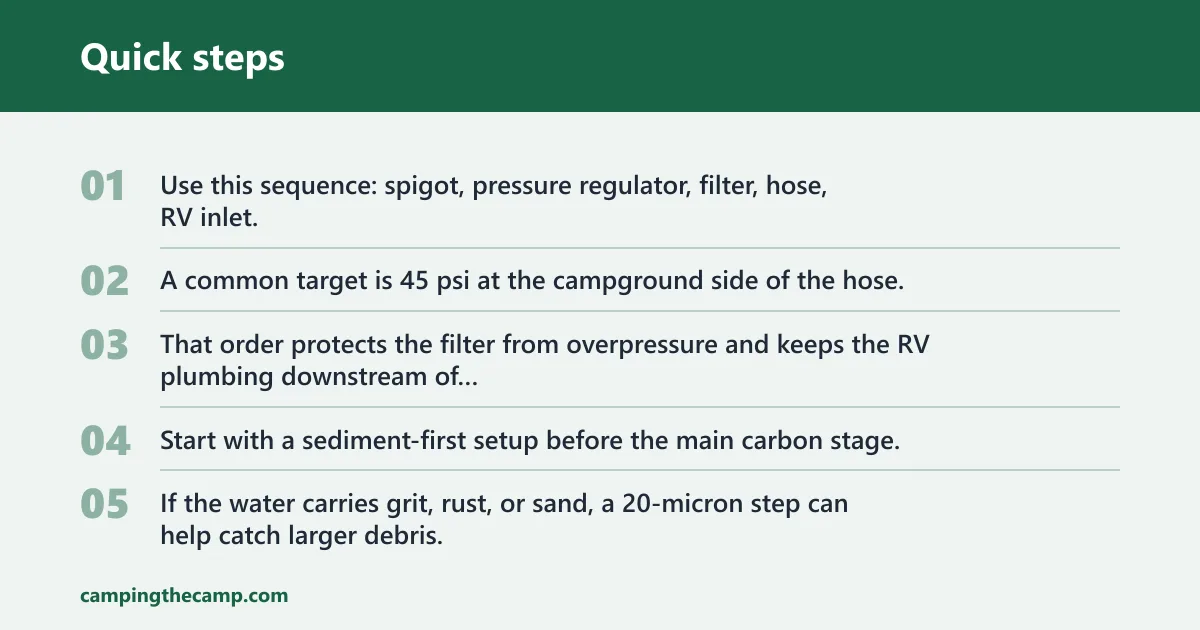
Use this sequence: spigot, pressure regulator, filter, hose, RV inlet. A common target is 45 psi at the campground side of the hose; if your regulator or RV manual lists another limit, use that. That order protects the filter from overpressure and keeps the RV plumbing downstream of the cleanest water available.
Unknown spigot order
Start with a sediment-first setup before the main carbon stage. If the water carries grit, rust, or sand, a 20-micron step can help catch larger debris, but fine sand and silt need a tighter stage later. Inspect the washer at every joint before you pressurize the line.
Well water and tank-fill order
Use prefiltration and disinfection as separate decisions. A 5-micron sediment stage can help with fine sand and silt, and a 0.5-micron carbon block may be used in tighter-stage setups, but that is not a substitute for disinfection when water may be biologically unsafe. Lake or river sources are beyond what a hose filter can handle safely.
When an inline setup is not enough
Move to a canister system when you need more stage control, longer service intervals, or better flow control at the coach. Every filter cuts flow some, and a loaded cartridge can make the shower weaker. Canister systems can offer more cartridge area, which is one reason they are often chosen for heavier sediment loads and multi-stage treatment.
RV water filter decision table
| Water source | Recommended component order | Required fittings/tools | Common failure check |
|---|---|---|---|
| City hookup | Spigot → pressure regulator → 20-micron KDF/carbon inline filter → hose → RV inlet | 3/4 inch garden-hose thread parts, spare washers, adjustable wrench, pressure gauge | Weak shower flow or a leaking washer at the first hose joint |
| Unknown spigot | Spigot → regulator → sediment stage → carbon stage → hose → RV inlet | Extra sediment cartridge or canister, adapter kit, clean towels, bucket | Rust, grit, or sand showing up after the first flush |
| Well water | Source → prefilter → 5-micron sediment stage → 0.5-micron carbon block option → tank fill or coach inlet | Canister housing, cartridge wrench if required, adapters, gauge, sanitizing supplies | Sulfur odor, staining, or reduced flow from a clogged stage |
| Boondocking tank fill | Fill source → prefilter if needed → tank fill inlet; disinfect separately if source quality is uncertain | Transfer hose, adapters, hose washer, optional canister, disinfection supplies per manual | Slow fill, trapped air, or cloudy water after the first run |
Start with a dry fit, then connect the line in the right order. For most campground hookups, the regulator belongs before the filter. For a whole-coach canister setup, mount the housing where you can service it, keep the flow arrow pointed toward the RV, leave enough clearance to change the cartridge, and flush the new cartridge before normal use.
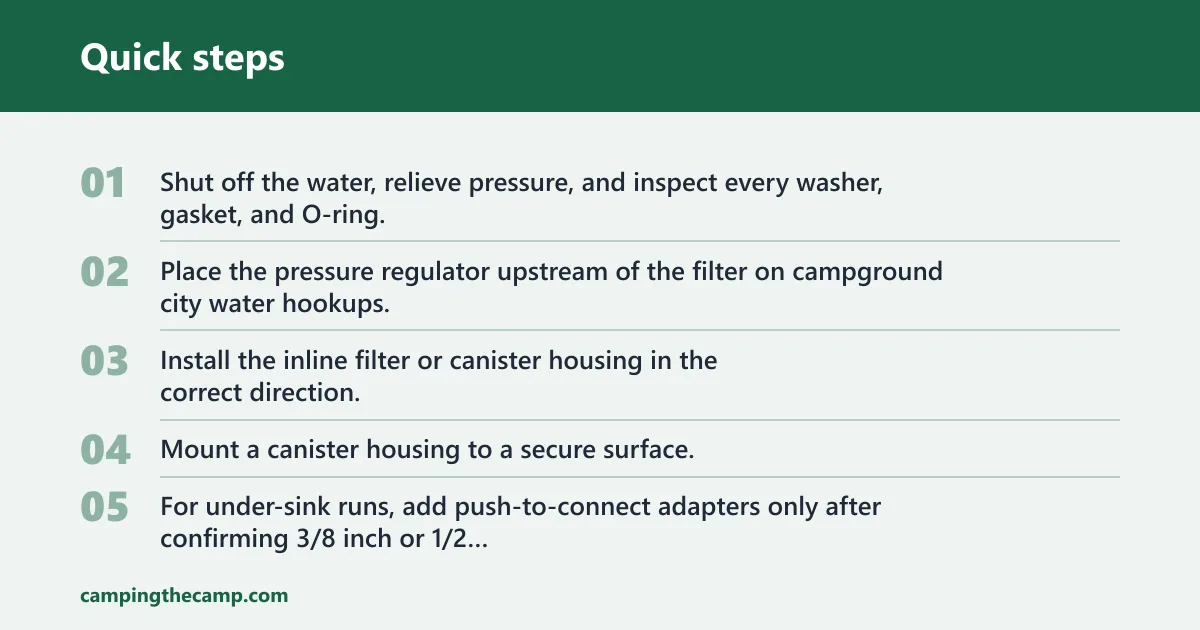
- Shut off the water, relieve pressure, and inspect every washer, gasket, and O-ring.
- Place the pressure regulator upstream of the filter on campground city water hookups.
- Install the inline filter or canister housing in the correct direction, using the flow arrow as your guide.
- Mount a canister housing to a secure surface, keep it in the orientation the housing requires, and leave enough room to remove the bowl or cartridge for service.
- For under-sink runs, add push-to-connect adapters only after confirming 3/8 inch or 1/2 inch tube size.
- Open the water slowly, flush the new filter or canister until the water runs clear, then check every joint for drips.
- If this is a whole-coach tank-fill setup, sanitize the tank and coach lines according to the RV and product manual before regular use.
- Run a faucet and the shower for a final flow check, then recheck the regulator setting and all hose-thread connections.
For an inline filter, the install is usually simple: spigot to regulator, regulator to filter, filter to hose, hose to RV inlet.
For a canister system, mount the housing first, seat the cartridge, close the bowl, and then flush it before you route water into the coach.
For an under-sink branch, use the push-to-connect fitting only where the tubing and adapter match. Push the tube fully into the fitting until it seats, then tug lightly to confirm engagement. This is common on RV-adjacent under-sink systems, and 3/8 inch and 1/2 inch adapter compatibility is the usual check point.
Should you use an inline or canister filter?
Use an inline filter when you want a simple city-hookup setup and taste-and-odor reduction without much plumbing work. Use a canister system when you need staged sediment control, a tighter carbon stage, or a setup that is easier to service over time. The right choice depends on source quality, not brand style alone.
Inline filters for simple city-hookup use
Inline filters are compact, fast to install, and common for campground water. A 20-micron KDF/carbon inline filter can be a good fit for many city hookups, and KDF media is commonly paired with granular carbon to target chlorine taste and odor. Check the maker’s specifications for replacement timing.
Canister systems for more control
Canister systems use a multi-stage layout, often including a 5-micron sediment stage and a 0.5-micron carbon block option. They suit sediment-heavy or uncertain sources better, and they usually offer more service choices than a sealed tube. They still need the same hose-and-washer care at the joints.
Micron rating choices by source quality
Use 20 micron for grit and rust flakes, 5 micron for fine sand and silt, and 0.5 micron absolute when you want the tighter carbon block range. That last step does not make untreated well or lake water potable by itself. If the source may be biologically unsafe, add proper disinfection.
Pressure and flow trade-offs to watch
Every filter reduces flow to some degree, so a weaker shower is a normal sign when the cartridge is tight or loaded with debris. Canister systems can perform well in higher-demand setups, but the exact result still varies by cartridge and housing size. If flow drops sharply, inspect for a clogged stage or a reversed install.
How do you know it is installed correctly?
A correct install stays dry at every joint, flows normally at the faucet and shower, and clears trapped air after flushing. If you hear sputtering, see drips, or smell chlorine and hose odor after the purge, check the orientation, washers, and cartridge seating before you assume the filter is bad.
Leak checks at every threaded joint
Wipe each joint dry, then pressurize the line and watch for beads of water. Hose-thread leaks usually come from a damaged washer, loose connection, or a mismatched fitting. Do not jump straight to tape if the washer is missing or flattened.
Flow check at the faucet and shower
Open a cold faucet first, then the shower. A slight flow drop is normal, but a hard restriction points to a clogged cartridge, a regulator set too low, or a canister installed backward. If the shower weakens only after the filter starts loading, the cartridge may be at the end of its service life.
Air purge and taste check after flushing
Flush until the water clears and the sputter stops. Then taste and smell the water from a cold tap. If chlorine odor, sulfur odor, or cloudiness remains, revisit the source order and cartridge type before you keep filling tanks.
Signs the filter is backward or clogged
Reverse orientation often shows up as poor flow right away. A clogged stage shows up later as a gradual pressure loss, a slower tank fill, or a weaker shower. Suppose the regulator is set correctly but the shower still loses pressure after a few minutes; the first thing to check is the sediment stage, not the faucet itself.
Common mistakes to avoid
- Using the wrong gasket or washer at a garden-hose connection.
- Installing the regulator after the filter instead of before it on city water hookups.
- Skipping the flush on a new canister cartridge or housing.
- Expecting one inline filter to make unsafe lake or river water fit to drink.
- Ignoring a reversed flow arrow on the housing.
- Letting a clogged cartridge masquerade as a plumbing problem.
Say your campground hookup has visible grit at the spigot and a new inline filter makes the shower weaker on day one. That points to source quality and pressure drop, not necessarily a bad RV pump. Move to a staged canister setup if the water stays dirty after the first cartridge change.
Suppose the hose leaks only at the threaded joint after you tighten it. Replace the washer first, then retest. If the leak persists, inspect the adapter for a mismatch before adding more force.
Replacement timing matters. Check the housing maker’s schedule and swap earlier if flow drops, odor returns, or sediment loading is visible.
Frequently asked questions
How do you install an RV water filter system step by step?
Shut off the water, install the regulator upstream of the filter, confirm the flow direction on the housing, and flush the new cartridge before normal use. For city hookups, the usual order is spigot, regulator, filter, hose, then RV inlet. Check every washer and retest for leaks.
Do I need a pressure regulator before installing an RV water filter?
Yes for campground city water hookups, because the regulator protects the filter and RV plumbing from overpressure. A common target is 45 psi unless your regulator or RV manual says otherwise. Put the regulator before the filter, not after it.
Where should an RV water filter be installed: at the spigot or inside the RV?
For campground water, install it at the spigot or on the incoming hose so the coach sees filtered water before it enters the RV. For whole-coach treatment, the filter can sit inside the RV on the inlet side. Tank-fill setups are a different layout and need separate planning.
What tools do I need to install an RV inline water filter?
Most installs need the filter, a pressure regulator, spare washers, an adjustable wrench, and a pressure gauge if the regulator does not include one. If the setup uses push-to-connect fittings, confirm 3/8 inch or 1/2 inch adapter compatibility before you start.
Should I use an inline filter or a canister filter for my RV?
Use an inline filter for simple city-hookup water where chlorine taste and hose smell are the main problems. Use a canister system when you need a 5-micron sediment stage, a 0.5-micron carbon block option, or better control over source quality. Choose by water source, not convenience alone.
How do I know if my RV water filter is installed correctly?
The filter is correct when every joint stays dry, the water flows normally at the faucet and shower, and air clears after flushing. Weak flow, leaks, sputtering, or a bad taste after purging usually means the washer, orientation, or cartridge needs another check.
Can I install an RV water filter on city water and well water?
Yes, but the setup should change with the source. City hookups usually need a 20-micron KDF/carbon inline filter, while well, lake, or unknown water needs more stage control. A 0.5-micron absolute carbon block is not a substitute for disinfection when water may be biologically unsafe.
How often should I replace an RV water filter after installation?
Replacement varies by use. Check the manufacturer’s schedule and replace sooner if flow weakens, odors return, or the cartridge is visibly loaded with sediment.
