
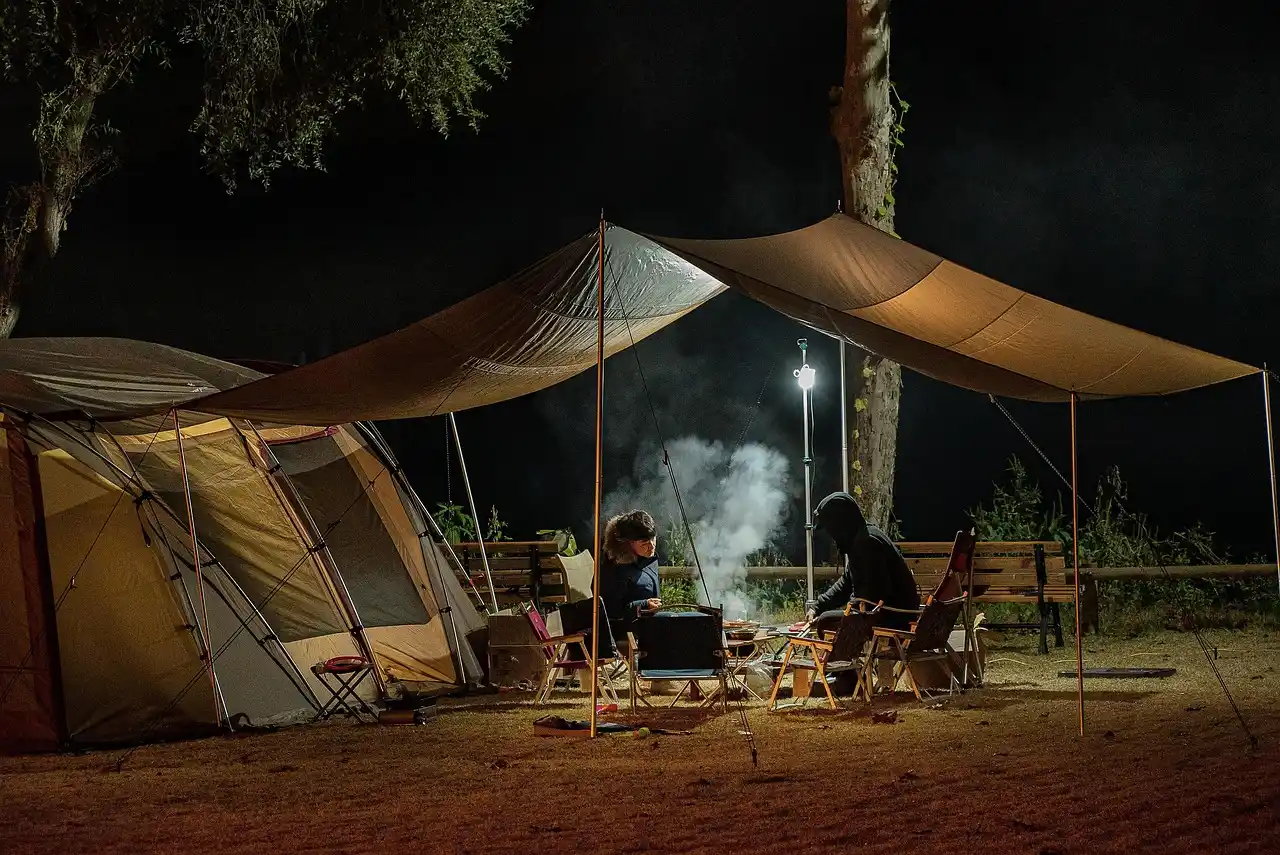
How to waterproof a canvas tent: special steps and products

Use a canvas-specific waterproofer, usually a silicone-free or acrylic reproofing product for cotton duck, and treat seams first. Skip waterproofing sprays made for nylon. Applied badly, you can trap moisture, cut breathability, and still leave seams leaking. This guide explains how to choose the right product, prep the tent, treat seams, and avoid over-coating canvas.
Canvas tent waterproofing basics
Waterproofing restores water beading on the outer canvas after wear. Repeated use, rain, mud, wind, UV, and storage dirt all break down the water-repellent finish over time. You are aiming for beading on the outside surface, not a glossy film that seals the cloth shut.
Many canvas tents are single-wall shelters, while some waterproof canvas tents are sold as 4-season or year-round models and may include a stove jack. Check your tent’s construction before you start, because the treatment target is the outer shell, not an assumed inner-and-fly setup.
Why canvas loses water resistance
Canvas usually loses resistance in the places that flex, rub, or collect grime first. Seams, panel edges, roof ridges, and door areas often go before the rest of the shell. If a tent has been stored damp or dirty, residue can block the finish and make the fabric wet out unevenly.
How to tell when beading has failed
Waterproofing is due when water stops beading and starts soaking into the canvas. Patchy darkening, slow drying, or a damp feel after light rain are common signs. A seam that leaks first does not always mean the whole tent has failed; it may need targeted treatment there before the rest of the shell.
Why breathability still matters
Canvas tents work because the fabric can breathe while still shedding rain on the outer surface. Heavy coating can reduce that balance. That is why the inner surface should generally stay untouched, and why you should choose a product made for cotton canvas rather than a coating meant for slick synthetic tents.
What you’ll need
- Non-abrasive tent cleaner, such as Fabsil Tent + Gear Cleaner or Nikwax Tech Wash
- Compatible waterproofing product for canvas or cotton duck, such as Nikwax Tent & Gear SolarProof or Fabsil Gold Universal Protector
- Soft brush or non-abrasive sponge
- Clean water and rinse gear
- Gloves
- A dry work area or a pitched tent on a dry day
- Applicator that matches the label: pump spray, spray bottle, or brush-on pad
Canvas tent reproofing decision table
| Symptom | Best product type | Do / don’t action |
|---|---|---|
| Seam leaks | Brush-on or targeted pump spray for compatible canvas | Do treat the seam before moving to the next panel. Don’t coat only the visible drip point and ignore the rest of the seam line. |
| Widespread soaking | Dry-tent spray or brush-on reproofing product | Do apply evenly to the outside shell. Don’t use a product that is meant only for synthetic tent flysheets. |
| Patchy beading | Wash-in cleaner first, then a compatible DWR reproofing product | Do clean away dirt and residue before proofing. Don’t add more treatment over grime. |
| Mildew buildup | Non-abrasive cleaner, then reproofing only after full cleaning and drying | Do remove mildew before any waterproofing. Don’t seal mildew under a coating. |
| Breathability concerns | Light, label-approved exterior reproofing only | Do keep treatment to the outer fabric. Don’t waterproof the inner surface unless the manufacturer specifically says to. |
- Pitch the tent on a dry day, then inspect the shell, seams, and problem zones.
- Clean the tent with water and a non-abrasive sponge first; use cleaner on both the flysheet or outer shell and the inner fabric if the label allows it.
- Let the canvas dry completely unless the product label specifically allows wet application.
- Apply the chosen waterproofing product to the outside of the shell, working seam by seam and panel by panel.
- Add one thin coat at a time, then recheck beading after it dries; if a seam still wets out, give that seam another pass before moving on.
How do you waterproof a canvas tent without ruining breathability?
Use a canvas-specific DWR treatment on the outer shell only, then stop when water beads instead of soaking in. Breathability drops when the cloth is over-coated, especially if the inner surface is treated too. The safer approach is a light, even exterior application and targeted seam work, not a heavy all-over seal.
Treat the outer shell first
Canvas tents are often sold as waterproof or water repellent, and some are marketed as 4-season or year-round models. Those products still need the right maintenance. The outer shell is the place to restore beading; the inner fabric should stay breathable unless the tent maker says otherwise.
Let seams take the first pass
Seams are common weak points. Give them extra coverage before moving to the next panel. On some canvas tents, thread swelling and careful seam seasoning matter more than modern seam sealer, so follow the tent maker’s guidance rather than assuming one sealant fits every seam.
For example, say a bell tent starts dripping at one roof seam after a windy weekend. Clean the whole roof panel first, then treat that seam and the adjacent panel edge before you move across the rest of the tent. That keeps the fix where the leak starts, not where it finally shows up inside.
Should you apply it wet or dry?
Use a dry tent unless the product label clearly says it can be applied wet. Dry application is the safer default for canvas because it helps you see coverage and avoid missed spots. Wet application can work with some products, but it depends on the exact formula and the maker’s instructions.
Use the product label as the final check
Nikwax Tent & Gear SolarProof is one example of a waterproofing product used for tent fabric. Fabsil Gold Universal Protector is another example, and it needs a dry tent. Those are not universal answers for every canvas tent, so check the listing for your fabric and finish before you buy.
Dry fully after treatment
After treatment, leave the tent to dry completely before storage. That matters because trapped moisture can encourage mildew and can interfere with the finish setting evenly. A dry day and a pitched tent make the job easier, especially on large wall tents or ridge tents.
Suppose a year-round canvas tent has patchy water beading on the roof but dry seams. In that case, a dry-tent treatment on the outer shell is usually the cleaner route. If the label allows wet use, follow the stated method exactly; if not, wait for a fully dry setup.
What products work best on canvas tents: spray, brush-on, or wash-in?
Choose the method that matches the failure pattern and the label. Wash-in cleaners are generally for prep, not for heavy waterproofing. Spray products are good for even coverage on larger panels when the fabric is compatible, while brush-on or pump-spray products help with seams, edges, and heavier reproofing on canvas.
Cleaner first, always
A non-abrasive cleaner removes dirt and residue that block water repellency. Fabsil Tent + Gear Cleaner and Nikwax Tech Wash are examples of cleaners used before waterproofing. Clean both the flysheet or outer shell and, where relevant, the inner fabric before proofing so the new treatment can bond to the surface.
Pick the applicator by the job
For widespread soaking, a spray or brush-on reproofing product gives the most even exterior coverage. For seams and edges, a pump spray or brush-on method lets you control where the product lands. Use wash-in only for cleaning or where the label specifically says it is part of the waterproofing system.
Do you need to waterproof the inside too?
No, not by default. The inner tent or inner face of a canvas shelter should usually stay uncoated so it can breathe. Waterproofing belongs on the exterior shell, or on the flysheet if your tent has one. Usually treat the inside only if the manufacturer’s instructions specifically call for it.
When the inner surface should stay untouched
Most canvas tents depend on breathability to manage condensation and comfort. Coating the inner fabric can change how the tent dries out after rain and can leave the interior feeling clammy. That is why the outer surface is the main waterproofing target.
Where seams need extra attention
Start with seams because they are common points of weakness. If a seam leaks, treat that line before moving to the next panel. On some tents, the seam itself is the issue; on others, the panel around the seam needs a second pass because the fabric there has lost its beading first.
Common mistakes
Most canvas waterproofing mistakes happen before the bottle opens. Dirty fabric, mildew, and residue block the treatment. Overcoating is the other common problem, especially on breathable canvas. The fix is slower and more targeted than many buyers expect.
- Coating dirty or mildewed canvas: clean first with a non-abrasive sponge and water.
- Over-treating breathable fabric: use only enough product to restore beading.
- Skipping seams and panel edges: treat these zones before moving on.
- Using the wrong formula: check whether the product is meant for cotton canvas, and whether it needs a dry tent.
- Treating the inner surface by default: leave the inner face alone unless the maker says otherwise.
If that didn’t work, try this next
- Re-clean the affected area and let it dry fully.
- Apply one thin extra coat only to the panel or seam that still wets out.
- Recheck after the next drying cycle.
- If the same zone still leaks, confirm that the product is compatible with your canvas finish before adding more treatment.
Prevention: store the tent clean and dry, and reproof it before long storage if water stops beading after a season of use.
Frequently asked questions
Do I need to waterproof the inside of a canvas tent too?
No, not unless the manufacturer specifically says so. The inner face must keep breathing, especially in single-wall canvas tents. Waterproofing the inside can trap moisture and affect drying. Focus on the outside shell, and only add extra coverage where seams or panel edges still soak through.
Should I apply waterproofing to a wet or dry canvas tent?
Dry is the safer default. Some products allow wet application, but the label has to say that clearly. A dry, pitched tent makes it easier to see coverage and avoid misses. After treatment, leave the tent to dry completely before packing it away or storing it.
How often should a canvas tent be reproofed?
There is no single interval that fits every tent. Reproof when water stops beading, especially after heavy use, long sun exposure, or storage with dirt on the fabric. Year-round setups usually need closer attention than occasional glamping tents, because they face more UV and weather.
What seams or parts of a canvas tent need extra attention?
Start with roof seams, ridge lines, door frames, corners, and panel edges, since these often need extra attention. These are the places most likely to leak first. Some canvas tents also have a stove jack, and that area may need its own check because it is a cutout and a heat-rated feature, not plain fabric.
How do I know if my canvas tent needs waterproofing again?
Look for water that stops beading and starts soaking in. Patchy darkening, slow drying, and seam drips are strong clues. If the fabric still looks clean but water spreads instead of forming droplets, the DWR has likely worn down and needs renewal on the outer shell.
Can I waterproof a tent fly and a canvas tent the same way?
Not always. Synthetic tent flies and cotton canvas often need different products, and the labels may call for different application methods. Many canvas tents need a cleaner, a canvas-compatible reproofing product, and careful seam treatment. Check the fabric content and finish before using the same treatment on both.