How to prevent condensation in a tent during cold weather

Keep one vent open. Pitch on the driest exposed ground you can find. Cut indoor moisture from cooking, wet gear, and breath so warm damp air leaves before it condenses. Ignore that, and you get dripping walls, a wet sleep system, and colder nights because insulation loses performance when it gets damp. This guide covers site choice, tent setup, airflow, and moisture control inside the tent.
Why tents sweat in cold weather
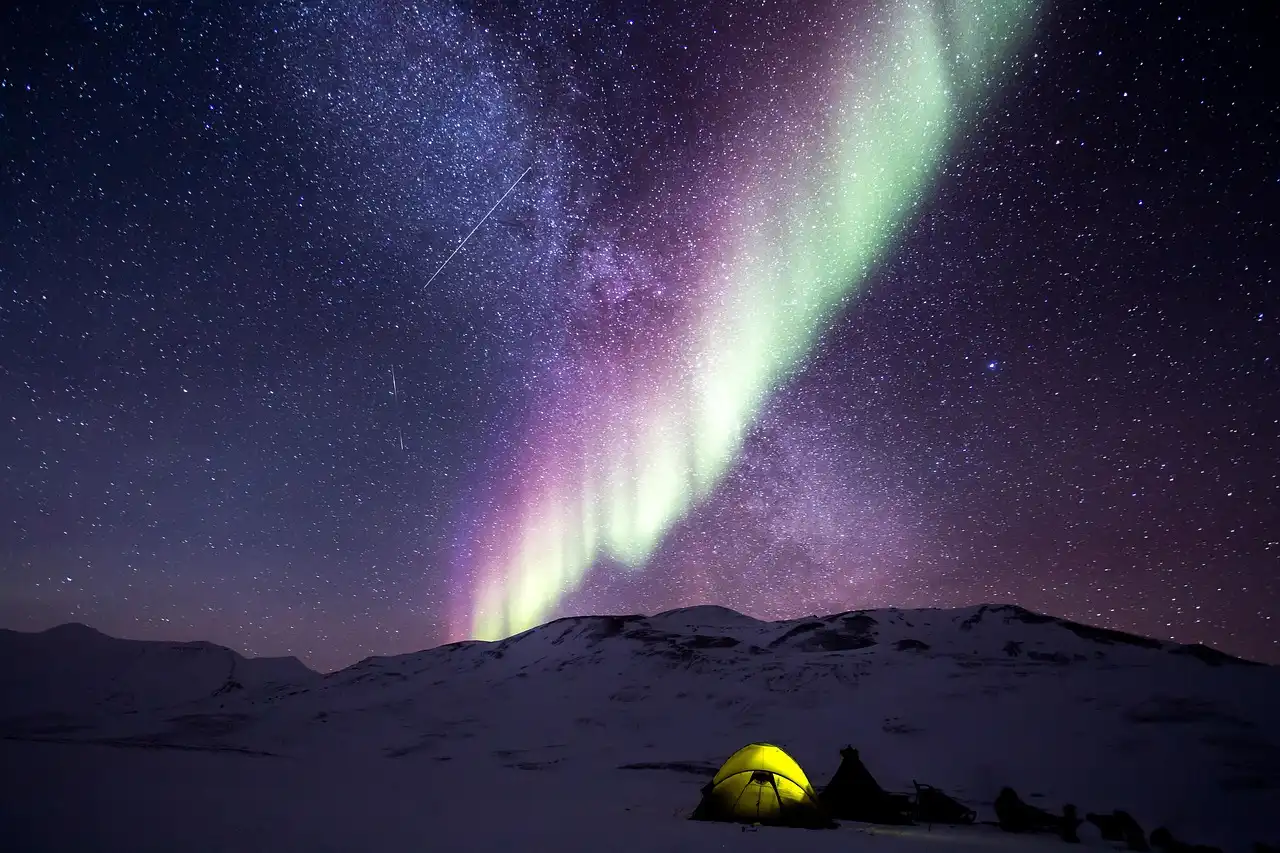
Tent condensation forms when warm, moist air inside the tent meets cold tent fabric. The air cools at the fabric surface, and water changes from vapor to liquid. As the night gets colder, the fabric cools further, so the problem often gets worse toward morning.
Breath is a major source of moisture. An adult at rest can exhale up to 20 milliliters of water vapor per hour in cold, dry conditions, and that moisture adds up inside a small enclosed space. Wet clothing, damp boots, and even a steamy meal can raise the load further.
When dripping points to condensation instead of a leak
Condensation usually shows up as widespread beads, film, or dripping on the inner side of the fly or inner wall, especially after a cold night. It can drip onto sleeping bags, quilts, or pads when the fly sags, touches the body of the tent, or funnels moisture inward. A leak is more likely if water appears after rain, pools from one seam, or shows up in one repeated spot even in dry weather.
Frost can confuse the picture. In subfreezing weather, moisture may freeze on the inside surface overnight and then melt into drips as the tent warms in the morning. If the wet area is icy at dawn, then turns into liquid as the sun hits the tent, frost is likely part of the story.
Picture a two-person tent on a cold clear night. The fly is damp by midnight, then the lower edge starts dripping by dawn after the temperature falls further. That pattern fits condensation far better than a fabric tear.
Can campsite choice cut condensation risk?
Yes. Site choice affects how much cold air, trapped moisture, and surface dampness surround the tent overnight. Higher ground, dry drainage, and the right balance of wind and cover can lower the moisture load around the sleep system before you even pitch.
Why higher ground drains better than low spots
Low-lying ground is a condensation trap because cold air and moisture collect there overnight. A campsite on slightly higher ground usually drains better and avoids the cold-air pocket that settles into hollows, creek bottoms, and flat dips. That does not guarantee a dry tent, but it cuts the odds.
Dry ground matters too. If the soil is already wet, the air around the tent starts damper, and the tent floor and lower fly can pick up moisture from below as temperatures drop.
How nearby water, wind, and tree cover change moisture levels
Stay at least 50-100 feet from water when possible. Lakes, rivers, and streams can add local humidity, so camping near them can raise condensation risk, especially on still nights. That does not make water-adjacent camping impossible; it just means you should expect a wetter setup and choose carefully.
Wind helps move moist air away, but too much exposure can make the site uncomfortable. Light airflow is useful. Dense tree cover can block that airflow and trap damp air, while open cover can reduce radiative cooling a little without sealing the site off from moving air.
What dry ground and good drainage do for the sleep space
Good drainage protects the tent floor and reduces the amount of moisture around the lower shell. You want water to move away from the site rather than collect under the tent. A slight slope, firm soil, and no obvious runoff path through the pitch area help more than a perfectly flat low spot.
Ventilation that actually works
Ventilation matters, but it is part of moisture management, not the whole answer. Most tents have upper and lower vents that are meant to work together. The lower opening lets in cooler air, the upper opening gives warm moist air a way out, and that airflow helps reduce buildup.
Using upper and lower vents together
Open both vents when conditions allow. If only the top vent is open, stale humid air may stay trapped low in the tent. If only the bottom vent is open, airflow can stall. The pair works best when nothing blocks the path between them.
Keep vents clear of sleeping bags, packs, and loose clothing. A vent buried under a backpack or pressed against a quilt cannot move much air. Even a small obstruction can turn a useful vent into dead space.
When to crack the door or use mesh
The tent door can be partially open when conditions allow. That small crack lets moist air escape, especially in calm weather or when the interior feels muggy. If insects are not a concern and the weather is mild enough, mesh panels can help keep airflow moving while limiting exposure.
Do not expect door cracks to solve everything in subfreezing weather. You still need enough warmth to sleep safely, so the goal is controlled airflow, not an open draft. Close the gap if wind, snow, or spindrift starts pushing into the tent.
How to keep vents clear of sleeping bags and packs
Place bulky items where they will not block the vents or trap moist air against the inner wall. Bags, jackets, and packs placed against the tent sides can stop circulation and create cold contact points where condensation forms faster.
Say your pack is pressed under the upper vent in a two-person tent. The vent may still be open, but the airflow path is blocked, so moisture lingers near the roof and condenses on the fly by morning.
How should you pitch the rainfly?
Pitch the rainfly taut and keep it separated from the inner tent. A tight fly sheds moisture better and holds an air gap between the outer and inner layers. That gap helps condensation form on the fly instead of the inner wall, which keeps the sleep space drier.
Why a taut fly matters
A sagging fly collects cold spots and can touch the inner tent. When that happens, moisture can transfer straight through the contact point and drip inward. Tension helps the fly shed water and frost instead of hanging in contact with the inner wall.
What happens when the fly touches the tent body
Contact creates a bridge for moisture. If the fly presses against the inner tent, especially near the roof or foot end, condensation on the fly can move to the sleeping area. That is one reason a properly tensioned fly often performs better than a loose one in cold weather.
The cold-weather sleep setup
Reduce the moisture you bring into the tent. Change out of sweaty layers before bed, sleep in dry base layers, and keep wet items out of the sleeping area when possible. The less water vapor you add, the less condensation the tent has to manage.
Changing out of sweaty layers before bed
Sweaty clothes carry moisture into the tent and keep releasing it as they warm up. Strip them off before sleeping if conditions allow, and put on dry base layers instead. That simple step lowers interior humidity and helps the sleep system stay warmer.
Why wet socks, hats, or gloves raise interior humidity
Wet socks, hats, gloves, towels, and rain jackets all add moisture to the air. Keep them outside the sleeping area or in the vestibule when possible. If they must stay inside, separate them from the sleeping gear so they are not hanging over the inner wall or packed into the foot of the tent.
Cooking inside the tent is discouraged because boiling water creates steam. That steam adds a large moisture load quickly, and in a cold tent it can condense almost as fast as it forms.
| Risk factor | What to change before bed | What to check in the morning |
|---|---|---|
| Campsite choice | Move to higher ground with good drainage and, when possible, stay 50-100 feet from water | Look for pooled water, damp ground under the tent, or heavy frost in a low pocket |
| Vent position | Open upper and lower vents; crack the door only when weather allows | Check whether vents were blocked by packs, quilts, or clothing |
| Rainfly tension | Pitch the fly taut and keep an air gap between fly and inner tent | Look for touch points, sagging corners, or wet transfer where the fly contacted the body |
| Wet gear | Move damp clothes, boots, towels, and rain jackets outside the sleeping area or into the vestibule | See whether any wet item was left near the inner wall or under the vents |
| Sleep clothes | Change out of sweaty layers and sleep in dry base layers | Check for damp cuffs, socks, or base layers that may have raised humidity overnight |
| Cooking | Do not boil water or cook inside the tent | Check for steam residue, damp fly fabric, or a heavy humid feel after cooking nearby |
| Tent type | Know whether you are in a single-wall or double-wall tent and manage airflow accordingly | Look for where moisture collected: inner wall, fly, or both |
Morning yes/no scoring system: give yourself one point for each “yes” answer: was the campsite low or poorly drained, were vents blocked, was the fly touching the tent body, were wet items left inside, were you sleeping in sweaty clothes, did you cook inside, and did the tent type make moisture control harder? A score of 0-2 is commonly treated as low risk, 3-4 as moderate risk, and 5-7 as high risk for the next night.
What tent features reduce condensation?
Tent fabric construction changes how condensation behaves. James Baroud describes cold-weather condensation as driven by the temperature difference between inside and outside when doors and windows are closed. That means the tent structure matters, especially in still, cold conditions.
Single-wall versus double-wall tents in cold weather
Single-wall tents place the living space closer to the outer fabric, so moisture control can be harder when temperatures drop. Double-wall tents give you more separation between the inner tent and the rainfly, which gives moisture somewhere else to collect before it reaches sleeping gear.
That separation is useful in winter because the fly can take the condensation load while the inner layer stays drier. The tradeoff is that airflow and setup matter even more, because a sloppy pitch can erase the benefit.
How inner layers and outer shells affect moisture control
The same source describes a three-layer fabric construction in its tents. The middle layer is described as a poly membrane for extra insulation against sound, temperature and light, and the inside layer is designed to absorb moisture. That kind of construction is one example of how materials can influence condensation control.
A water-resistant outer shell still matters, but it is not enough by itself. If the inner surface stays cold and moist air cannot move out, condensation still forms.
Where powered vent fans help
Some rooftop tents use a solar powered vent fan as a condensation-fighting feature. A powered fan helps move moist air out when natural airflow is weak, which is useful in enclosed setups or when cold weather limits how much you can leave open.
A fan is not a substitute for site choice or dry sleep habits. It is a structural aid for tents that can support it, especially when warm breath and closed doors make the interior air stagnant.
Frequently asked questions
Why does my tent get more condensation when it’s cold?
Cold fabric cools the air near it faster, so water vapor condenses sooner and more heavily. Overnight, the temperature usually drops further, which increases the difference between the warm interior and the cold exterior. That is why a tent can feel drier at bedtime and wet by dawn.
Should I leave tent vents open in cold weather?
Yes, at least one vent should usually stay open if the weather allows. Most tents have upper and lower vents that work together, and closing them all traps moisture from breath and wet gear. Keep an eye on wind, snow, and heat loss, then adjust rather than sealing the tent shut.
How do I tell tent condensation from a leak?
Condensation usually appears broadly on the inside of the fly or inner wall, especially after a cold night. A leak is more likely to show as a localized drip, seam issue, or wet spot after rain. Frost that melts in the morning can look like either one, so check whether the moisture formed before any rain.