
Enter the camp chef’s best friend: the versatile, dependable Dutch oven. This heavy-duty, time-tested cooking pot allows baking, simmering, frying, and more when home ovens aren’t available. Whether feeding your whole family or a few hiking buddies, this guide covers all you need to know to cook up campsite feasts with your Dutch oven and get glowing campfire reviews.
Mastering Dutch Oven Cooking Techniques
Before firing up flavorful stews or baking golden brown breads, it helps first to understand basic Dutch oven capabilities. Let’s review key design elements, heating fundamentals, how to choose the right size, and handy accessories for preparing perfect camp cuisine every time.
How Dutch Ovens Work
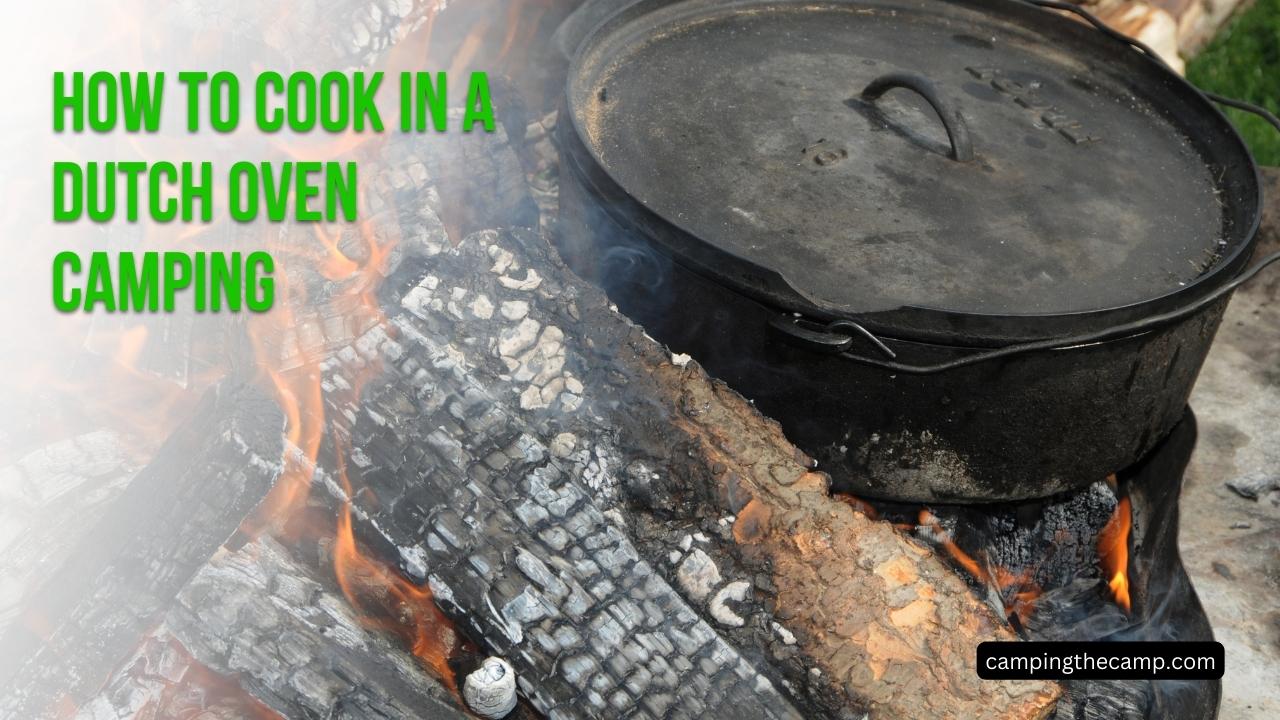
Dutch ovens conduct and retain heat unlike thinner pots thanks to thick cast iron or aluminum walls. Tight-fitting lids keep moisture from escaping as steam for braising meats or baking bread dough. Small legs lift the base above hot coals, while wire bail handles aid moving or hanging the pot.
Seasoning Protects and Adds Flavor Proper seasoning provides an interior nonstick coating allowing better browning and easy release of foods. Oils baked into the metal over time also prevent rusting while adding subtle flavor. Maintain the patina by scrubbing gently and reapplying oil after each trip.
Heating Basics: Coals Above and Below Dutch oven cooking relies on placing hot coals both below and stacking them on the lid. This surround-heat quickly brings the interior to temperature while avoiding hot spots. Shifting the lid and bottom coals lets you adjust oven zones from very hot (350°F +) for searing meats to moderately warm (200°F) for proofing bread dough.
Choosing the Right Size
When selecting your first Dutch oven, or adding to your camp battery, keep your average group size in mind. Here’s a quick reference:
- 8”: great for sides, bread and desserts for 1-2 people
- 10”-12” oven suits 3-5 hungry hikers
- 14”-16” pots serve large groups of 6+
Handy Accessories Transporting supplies in and mastering Dutch oven cooking grows easier with specialized gear:
- Lid lifter / Lid stand – Helps grip hot lid without burning hands or resting in dirt
- Coal tongs – Precisely places and removes hot briquettes
- Fireproof gloves – Protect hands from heat transferring through handle
- Tripod – Holds oven safely above coals for more even heating
- Matches / Fire starter – Reliably ignite briquettes
Building a Better Campfire for Oven Cooking
Now for the fun part … establishing a proper cooking fire lay! Locating the fire ring, setting up for safety, assembling fuel, and tending the flames presents the first steps for camp cooking success. Here’s how to prep for unleashing your inner camp chef.
Choosing the Cooking Site
Ideally, pick or create your cooking station at least 15 feet downwind from tents and gear, ensuring sparks won’t damage equipment should the winds shift. If at an established site, use their existing fire ring. For dispersed camping, surround a 3-4 foot diameter area with medium sized stones. Clear all burnable sticks, leaves and pine needles within a 6 foot diameter.
Safety First! Once selecting your site, establishing a safety zone prevents accidents amidst all the outdoor cooking excitement:
- Mark a visible perimeter 3 feet from fire pit
- Declare zone off-limits for playing; enforce firmly!
- Keep fire extinguisher or bucket of sand / water nearby
- Instruct kids to ALWAYS notify adults before approaching
Assembling Burn Materials
Now it’s time to prep burn materials in three categories:
Tinder – Small dry twigs, pinecones, leaves Kindling – Progressively larger dry sticks, 1⁄4 – 1” diameter
Fuel – Seasoned logs 3-6” diameter; kept stockpiled nearby
For Dutch ovens, charcoal briquettes become the actual cooking fuel. But you’ll still want a proper log fire lay to ignite them.
Building a Log Fire Foundation
With your burn materials assembled and safety zone set, you’re ready to establish a cooking fire:
- Crumble newspaper or fire starter in fire ring
- Create teepee of tinder above starter
- Add increasing size kindling teepee-style
- Ignite paper; allow kindling to fully catch
- Gradually add thicker fuel logs
- Let flames establish on logs before setting up Dutch oven
Getting the Right Heat
Wait until the logs burn hot with vibrant dancing flames before introducing charcoal. Scatter briquettes nearby to pre-heat but not ignite. Use long handled tongs to carefully place red hot coals beneath and on top of oven.
Adjust heat by adding or removing coals from lid and base per recipe. Generally 8-10 total coals suits most dishes. Rotate oven and lid about quarter turns every 10-15 minutes to prevent hot spots.
Tips for Prepping Tasty Dutch Oven Meals
Now for the best part … it’s chow time! But first gathering recipes, prepping ingredients, and planning ahead sets you up for Dutch oven cooking victory. Here are pro tips for tasty camp cuisine with minimal fuss:
Find Camp Cooking Inspiration Not sure where to start with Dutch oven options? Here are handy sources for meal ideas:
- Outdoor sites like Trail.Recipe, TheDyrt, and OutdoorFoodClub showcase creative and tasty camping dish ideas.
- Check bestselling camp cooking cookbooks like The Scout’s Outdoor Cookbook which highlight foil meals along with Dutch oven recipes perfected over decades of Scout camps and backpacking trips.
- Traditional chuck wagon fare offers inspiration for thick hearty stews, bean dishes, biscuits, cobblers and so on well-suited for oven cooking.
- Breakfasts prove fun and tasty too – think breakfast casseroles and baked cinnamon rolls.
Plan Meals in Advance
Make an overall weekend meal plan then build shopping lists accordingly. This allows for any pre-prepping certain ingredients before leaving home. Also consider Dietary needs of all members – Great oven options exist for gluten free, vegetarian/ vegan, and other specialized nutritional needs.
Accounting for Perishables Unless car camping with access to ice chests, stick with non-perishables to minimize food safety risks. Cured/dried meats, canned vegetables/beans, powdered dairy, and long-lasting produce offer safer alternatives to fresh raw ingredients.
Pack Non-Cooking Essentials Too!
Beyond menu ingredients, remember key kitchen tools to deploy your camp chef skills:
- Prep bowls, cutting boards, knives, serving spoons
- Pot grabbers, hot pad gloves
- Biodegradable plates, cups, utensils
- Zipper bags, foil, plastic wrap
- Scrub pads, biodegradable soap
Top Tips for Great Flavor
No access to running water or your well-equipped home kitchen makes adding flavor especially important:
- Liberally season everything with salt, herbs and spices
- Bring sauces and condiments – barbecue, Sriracha, etc.
- Include acid elements like lemon or lime juice
- Boost richness via healthy oils and butter/ghee
- Don’t skimp on chopped garlic and onion!
Simple Sensational Recipes for Dutch Oven Camp Cookery
Ready to master Dutch oven cuisine?
Start by practicing these simple yet scrumptious recipes guaranteed to satisfy all your hungry campers!
Breakfast Sausage & Veggie Bake
Jumpstart those early morning adventures with this savory bake loaded with protein and veggies. Make ahead the night before and simply reheat in the morning!
Here is a table summarizing the Breakfast Sausage & Veggie Bake recipe:
| Ingredients | Amount |
|---|---|
| Breakfast sausage | 1 lb |
| Onion, diced | 1 onion |
| Red bell pepper, chopped | 1 pepper |
| Shredded potatoes | 4 cups |
| Shredded cheddar cheese | 1 cup |
Instructions
- Sauté breakfast sausage; drain grease and set aside
- Wilt onion and bell pepper
- Layer in Dutch oven:
- Potatoes
- Sausage
- Onion mix
- Cheese
- Bake at 350°F for 45 minutes
- Serve piping hot!
Cowboy Beans & Bacon
This sweet tangy bean dish proves perfect for feeding hungry troops at lunch or supper. Adjust oven zone temps to simmer several hours for max flavor infusion!
Ingredients: 2 cans pinto beans 6 slices cooked bacon, chopped 1 onion, diced 1 cup barbecue sauce
2 tbsp brown sugar 1 tsp dry mustard
Instructions Mix all ingredients in Dutch oven Bake at 325°F for 1-2 hours until thickened Stir occasionally; add water if drying out Garnish with green onion
Skillet Apple Cobbler
Living off trail mix gets old fast! Indulge that sweet tooth with this easy Dutch oven dessert. Mountain air makes everyone crave carbs!
Ingredients:
1 box yellow cake mix
1 stick butter, melted 5 cups sliced apples 1 tbsp cornstarch
1 tsp cinnamon
Instructions
Mix cake mix, 1 cup mix, butter + cornstarch
Fold in apples; pour in oven Bake at 350°F for 45 mins until browned Serve dolloped with whipped cream or ice cream
Tips for Carefree Cleanup
The vision of scrubbing caked on oatmeal from bowls down by the creek may not sound so “majestic” after all! But follow these tips and cleanup proves speedy:
- Line Dutch ovens with foil or baking paper minimizes food sticking and residue
- Use biodegradable paper plates and bowls whenever possible
- Pack multiple washbuckets – one each soap/ bleach and rinse water
- Dry immediately; store open containers so they air out fully before packing
FAQs
Can any oven recipe be adapted?
Most standard recipes convert well. Reduce oven temp 25 degrees, use lid coals to mimic oven heating from above. Extend bake times 10-20%.
What food safety steps prevent illness?
Always wash hands before prepping meals, cook meats thoroughly, refrigerate prompt leftovers. Use separate cutting boards for produce and meat.
How do you know if oven is preheated?
When you can only hold your hand inside the oven 2 seconds before pulling away, the interior runs a toasty 375°F – perfect for baking biscuits!
What if cooked dish isn’t done inside?
Carefully add a few more hot coals onto the oven lid to boost heat intensity. Rotate more frequently. Add extra minutes to recommended cooking time.
Why are some spots burnt while others underdone?
Uneven heating happens but is preventable. Ensure your campfire provides consistent red hot coals. Rotate oven every 10-15 minutes to prevent hot spots from developing.
What if food burns onto the oven surface?
Burnt on residue ruins flavor and texture. Next trip try lining oven with baking paper first. For current mess, fill with water and boil off any stuck bits after cooking. Reseason the patina after.
Go Create Your Own Camp Cooking Memories!
As the last embers glow and yawns emerge all around, you feel grateful for another wonderful day with loved ones in nature made better with the comfort of delicious hot meals. May the recipes, tips and techniques from this guide launch a lifetime of enjoying scrumptious campfire feasts courtesy of your trusty Dutch oven assistant. We can’t wait to hear about your favorite go-to meals and maybe even some new recipes to try on our next adventures. Happy Camp Cooking!