
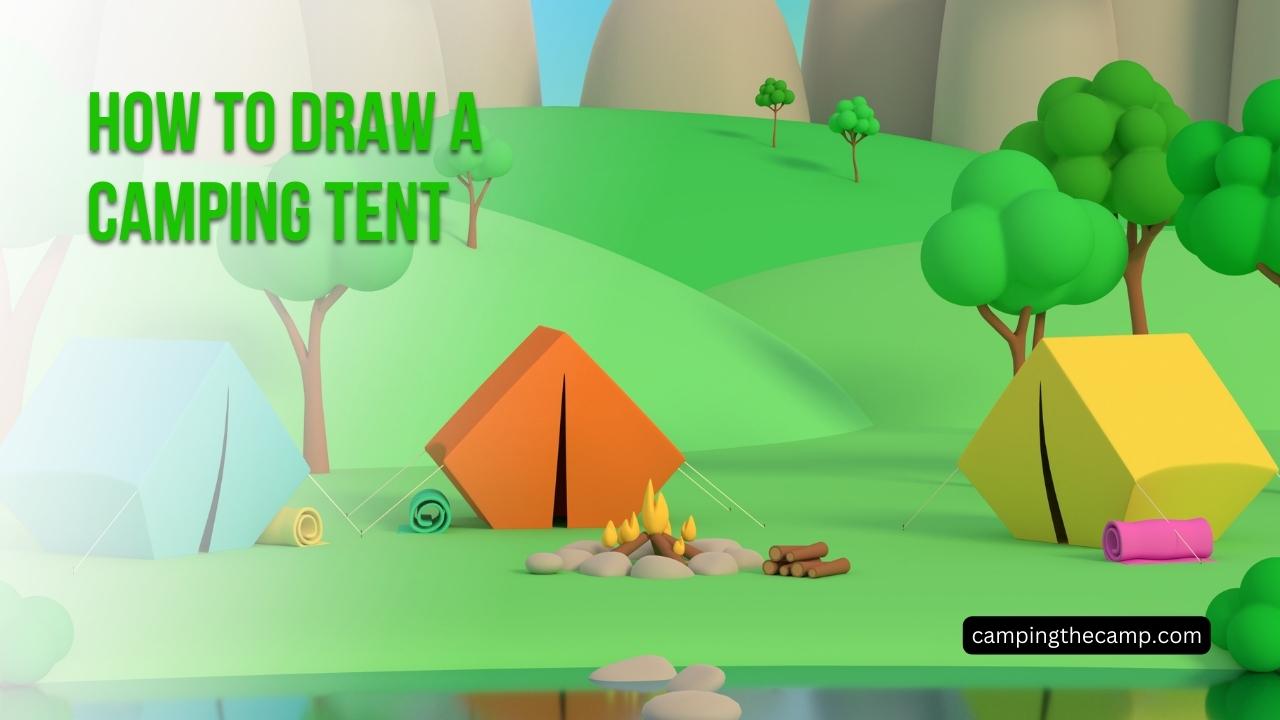
Drawing a camping tent may seem challenging, but it is a great way to improve your drawing skills and create a realistic scene. Whether you are an artist or a beginner, drawing a camping tent can be a fun and rewarding experience. In this article, you will learn the basics of drawing a camping tent, the tools and materials needed, and how to choose the right perspective to create a realistic scene.
Understanding the basics of a camping tent is essential to drawing it accurately. A camping tent is a temporary shelter used for camping and outdoor activities. It is typically made of lightweight, waterproof materials such as nylon or polyester and is supported by poles or a frame. To draw a camping tent, you need to have a good understanding of its basic structure and how it functions.
Key Takeaways
- Understanding the basics of a camping tent is essential to drawing it accurately.
- Choosing the right perspective is crucial to creating a realistic scene.
- Adding details and refining your drawing will help bring your camping tent to life.
Understanding the Basics of a Camping Tent
Camping tents are an essential piece of equipment for any outdoor adventure. They provide shelter from the elements and a comfortable place to sleep. Understanding the basics of a camping tent is important for anyone who wants to enjoy the great outdoors. This section will cover the types of camping tents and the parts that make up a camping tent.
Types of Camping Tents
There are several types of camping tents available on the market, each with its own unique features and benefits. Some of the most common types of camping tents include:
- Dome Tents: These tents have a rounded shape that provides good headroom and stability in windy conditions. They are easy to set up and take down and are ideal for backpackers and hikers.
- Cabin Tents: These tents are designed for car camping and have a rectangular shape that provides plenty of space for multiple people and gear. They often have multiple rooms and windows for ventilation.
- Backpacking Tents: These tents are lightweight and compact, making them ideal for backpacking trips. They are designed to be easy to carry and set up, but may sacrifice some comfort and space.
Parts of a Camping Tent
Camping tents are made up of several parts, each of which plays an important role in providing shelter and comfort. Some of the most important parts of a camping tent include:
- Tent Poles: These provide the structure and support for the tent. They are usually made of aluminum or fiberglass and come in different lengths and diameters.
- Tent Fabric: This is the material that makes up the body of the tent. It is usually made of nylon or polyester and is treated with a waterproof coating to keep the interior dry.
- Rainfly: This is an additional layer of waterproof fabric that covers the tent to provide extra protection from the rain.
- Tent Stakes: These are used to secure the tent to the ground and prevent it from blowing away in the wind.
- Guy Lines: These are ropes that are attached to the tent and anchored to the ground to provide additional stability in windy conditions.
In summary, camping tents come in different types and are made up of several important parts. Understanding these basics will help anyone choose the right tent for their needs and ensure a comfortable and enjoyable outdoor experience.
Tools and Materials Needed
To draw a camping tent, there are a few tools and materials you will need. Here are the essential items:
Pencil
A pencil is the most important tool you will need to draw a camping tent. It is recommended to use a regular HB pencil or a mechanical pencil with a 0.5mm lead for precise lines.
Eraser
An eraser is necessary to correct mistakes and clean up lines. A soft eraser is recommended to avoid damaging the paper.
Paper
You will need paper to draw the camping tent. It is recommended to use a sketch pad or a drawing paper with a weight of at least 90gsm to prevent the paper from tearing.
Ruler
A ruler is useful to draw straight lines and measure the proportions of the tent accurately.
Compass
A compass is used to draw circles and arcs. It is useful to draw the curved parts of the tent accurately.
Coloring Materials
To add color to the tent, you will need coloring materials such as colored pencils, markers, or watercolors. It is recommended to use high-quality materials for the best results.
Overall, these are the essential tools and materials needed to draw a camping tent. With these items, anyone can create a beautiful and realistic tent drawing.
Choosing the Right Perspective
When drawing a camping tent, choosing the right perspective is crucial. It can make or break the realism of your drawing. Here are some tips to help you choose the right perspective:
1. Consider the Environment
The first thing to consider is the environment in which the tent is located. Is it in the middle of a forest, on a beach, or in a campsite? The environment will affect the perspective of the tent. For example, if the tent is in the middle of a forest, the trees will likely be taller than the tent, so the perspective should be drawn from a lower angle.
2. Think About the Viewer
Another important factor to consider is the viewer’s perspective. Are they looking at the tent from a distance or up close? If the viewer is up close, the perspective should be drawn from a lower angle to give the tent a more imposing appearance. On the other hand, if the viewer is far away, the perspective should be drawn from a higher angle to show the tent in its environment.
3. Experiment with Different Perspectives
It’s always a good idea to experiment with different perspectives before settling on one. Try drawing the tent from different angles and see which one works best. Don’t be afraid to try something new and unconventional.
4. Use Reference Photos
Lastly, using reference photos can be extremely helpful when choosing the right perspective. Look at photos of camping tents in different environments and from different angles to get an idea of what works and what doesn’t.
By considering the environment, viewer, experimenting with different perspectives, and using reference photos, you can choose the right perspective for your camping tent drawing.
Drawing the Base of the Tent
To start drawing a camping tent, the first step is to draw the base of the tent. This is the foundation on which the rest of the tent will be built. Here are the steps to draw the base of the tent:
- Draw a rectangle to represent the tent’s base. This will be the floor or ground inside the tent. The rectangle should be drawn firmly with a pencil to ensure accuracy.
- Add another longer rectangle to represent the backside of the tent. This rectangle should be drawn parallel to the first rectangle and should be slightly longer.
- Draw a diagonally slanted line in the middle of the backside rectangle. This line represents the zipper or the tent opening.
- Connect the two rectangles by drawing two diagonal lines on either side of the backside rectangle. These lines should be drawn at an angle to create a triangular shape.
- Erase any unnecessary lines and refine the shape of the base as needed.
It’s important to take the time to draw the base accurately, as it sets the foundation for the rest of the tent. Once the base is complete, the next step is to draw the tent poles and canopy.
Adding Details to the Tent
Once the basic shape of the camping tent is drawn, it’s time to add some details to make it look more realistic. In this section, we will cover some tips on how to add details such as tent flaps, shadows, and texture to your tent drawing.
Drawing the Tent Flaps
To make the tent look more realistic, it’s important to add flaps to the tent. Here’s how to do it:
- Draw a small rectangle on each side of the tent, just below the top edge.
- Connect the top edge of the rectangle to the top edge of the tent with a diagonal line.
- Draw a small triangle on each side of the tent flap, connecting the bottom edge of the rectangle to the bottom edge of the tent.
By adding these flaps, the tent will look more like a real camping tent.
Adding Shadows and Texture
To add some dimension and texture to your tent drawing, you can add shadows and texture. Here’s how:
- Decide where the light source is coming from. This will help you determine where to add shadows.
- Using a darker pencil or marker, shade the areas of the tent that would be in shadow based on the light source.
- To add texture to the tent, use short, diagonal lines to create a crosshatch pattern on the tent fabric. This will give the tent a more realistic look.
By following these tips, you can add more details to your camping tent drawing and make it look more realistic.
Drawing the Environment Around the Tent
When drawing a camping tent, it is important to consider the environment in which it is situated. This can help add depth and context to the drawing. Here are some tips on how to draw the environment around the tent.
Sketching Trees and Bushes
To add trees and bushes to the drawing, start by sketching the basic shapes. Trees can be drawn by sketching a trunk and branches, while bushes can be drawn by sketching a rounded shape with smaller circles or ovals on top to represent leaves. Once the basic shapes are in place, add details such as bark texture, leaf veins, and shadows to make the trees and bushes look more realistic.
Incorporating a Campfire
A campfire can add a lot of interest to the drawing and help set the scene. To draw a campfire, start by sketching a circle or oval to represent the fire pit. Then, draw logs or stones around the fire pit to create a border. Finally, add flames and smoke to the drawing. Flames can be drawn by sketching wavy lines, while smoke can be drawn by sketching curved lines that taper off at the top.
By incorporating trees, bushes, and a campfire into the drawing, the environment around the tent can be brought to life. This can help make the drawing more interesting and engaging.
Finalizing and Refining Your Drawing
After completing the basic outline of the camping tent, it’s time to refine and finalize your drawing. This section will cover the steps to take to give your drawing more depth, dimension, and realism.
Erasing Unnecessary Lines
The first step in refining your drawing is to erase any unnecessary lines. Use a kneaded eraser or a pencil eraser to remove any stray marks or guidelines that are no longer needed. Be careful not to erase any essential lines or details.
Adding Color and Shading
Once you have erased all unnecessary lines, it’s time to add color and shading to your drawing. Start by coloring the tent fabric with a light color, such as beige or gray. Then, use a darker color to add shading to the areas of the tent that would be in shadow, such as the underside of the tent and the area around the door.
To add more depth and dimension to your drawing, use a blending tool, such as a blending stump or your finger, to blend the colors together. This will create a more realistic look to your drawing.
Finally, add shading to the ground or floor of the tent using a darker color. This will give the impression of shadows and make the tent look like it’s actually sitting on the ground.
With these final touches, your camping tent drawing is complete and ready to be admired.
Practicing Different Tent Styles
Drawing different tent styles can be a fun way to improve your skills and creativity. Here are a few tips for practicing different tent styles:
1. Research Different Tent Styles
Before you start drawing, it’s a good idea to do some research on different tent styles. Look up images of different types of tents, such as dome tents, cabin tents, and teepees. Pay attention to the shape, size, and features of each tent style.
2. Experiment with Shapes and Sizes
Once you have an idea of different tent styles, start experimenting with different shapes and sizes. For example, try drawing a dome tent with a wider base, or a cabin tent with a taller roof. Don’t be afraid to play around with different proportions and angles.
3. Add Details
To make your tent drawings more realistic, add details such as windows, doors, and vents. You can also add texture to the tent fabric by drawing diagonal lines or crosshatching. Don’t forget to add any additional features such as rainflies or vestibules.
4. Practice Perspective
To make your tent drawings more dynamic, practice drawing tents from different perspectives. For example, draw a tent from a bird’s eye view or a worm’s eye view. This will help you improve your spatial awareness and give your drawings a more interesting look.
5. Use References
If you’re having trouble drawing a certain tent style, don’t be afraid to use references. Look up images or videos of the tent style you want to draw and use them as a guide. This can help you get a better understanding of the tent’s shape and features.
By practicing different tent styles, you can improve your drawing skills and creativity. Remember to have fun and experiment with different shapes, sizes, and details.
Conclusion
Drawing a camping tent can be a fun and creative way to express your love of the outdoors. By following the steps outlined in this guide, you can create a realistic and detailed drawing of a camping tent.
To begin, sketch out the basic outline of the tent using a curved line to connect two straight lines for the top of the tent and a straight line for the bottom. Then, add some dimension to your sketch by drawing two lines that come down from the top of the tent and meet in the middle.
Next, draw a rectangle to represent the tent’s base and a tall triangle on top of the rectangle to represent the largest portion of the tent. Add details to the tent by drawing a curved line above its surface, and adding more dots as seen in the example image.
When drawing a campsite scene, start by sketching the basic shapes of the scene. Begin by drawing a large rectangle to represent the ground and then draw a few small circles to represent the tents. Add details to the tents by drawing a triangle on top of each circle to represent the tent’s roof.
Remember to look at reference pictures to make your drawing appear realistic. By following these simple steps, you can create a beautiful drawing of a camping tent that will impress your friends and family.
FAQs
What are some tips for drawing a realistic camping tent?
Drawing a realistic camping tent requires attention to detail and accuracy. Some tips for achieving a realistic look include starting with a basic outline of the tent, adding details such as the door, windows, and support poles, and shading to create depth and texture. It’s also important to consider the lighting and shadows in the scene to make the tent look like it is part of the environment.
How can I draw a cute and simple camping tent?
To draw a cute and simple camping tent, start with a basic triangular shape. Add a small rectangle at the bottom to represent the ground. Draw a door and windows, and add some fun details like bunting or a flag on top. Use bright colors and simple lines to create a playful and whimsical look.
What are some techniques for drawing a campfire?
To draw a campfire, start with a circle or oval shape to represent the fire pit. Add logs or stones around the perimeter. Draw flames using a combination of curved and jagged lines, and use varying shades of orange, yellow, and red to create depth and movement. Don’t forget to add smoke and embers for a realistic touch.
How can I draw a camping scene with a family?
Drawing a camping scene with a family can be a fun and rewarding project. Start by sketching out the basic elements of the scene, including the tent, campfire, and surrounding landscape. Add family members enjoying different activities such as cooking, hiking, or playing games. Use shading and color to create depth and texture, and consider adding small details like a picnic table or lantern.
What are some steps for drawing a tent and campfire together?
Drawing a tent and campfire together requires careful planning and attention to detail. Start by sketching out the basic shapes of the tent and fire pit. Add logs or stones around the campfire, and draw flames and smoke using a combination of curved and jagged lines. Use shading and color to create depth and texture, and consider adding small details like a picnic table or chairs.
How can I draw a camper in a camping scene?
Drawing a camper in a camping scene requires attention to detail and accuracy. Start by sketching out the basic shape of the camper, including the body and wheels. Add details such as windows, doors, and a ladder. Use shading and color to create depth and texture, and consider adding small details like a picnic table or chairs. Don’t forget to include the surrounding landscape and other elements of the camping scene.